Have you ever wondered how to back up your Mac’s hard drive safely? Or perhaps you’re upgrading to a new drive and want to transfer everything seamlessly? Cloning your Mac hard drive is the solution you need. Let’s explore how to clone a Mac hard drive using Disk Utility, ensuring your data is safe and secure.
Why Clone Your Mac Hard Drive?
There are various reasons one may need to clone their Mac hard drive. First and foremost, it helps in creating a complete system backup whereby if any data is lost or gets corrupt, then one can easily retrieve it from such backups; therefore, this becomes very important, especially when there is a failure in hardware or some information has been accidentally deleted as this could be life-threatening. Secondly, the process is important for when one wants to upgrade to a higher capacity or faster drive – with all files, settings, and applications intact. For example, if you intend to move to an improved-performing solid-state drive (SSD) with quicker load times, you would have to clone your Mac hard drive so that everything about your data and system setups seamlessly fits into the new drive. Cloning also prevents you from wasting time and effort, just like you would do in reinstalling the operating system plus software afresh.
Preparation: What You Need Before Cloning
Ensure you gather the subsequent items before starting the cloning procedure:
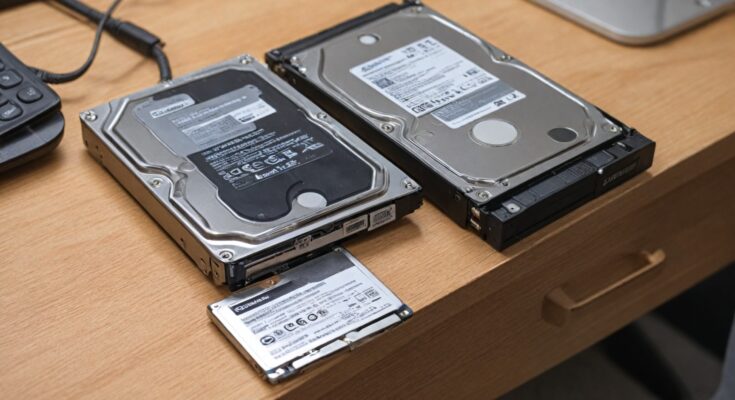
- External Hard Drive: Your external hard drive must have a capacity equal to or greater than that of your Mac internal drive. It is recommended that you use a good, working, and reliable external drive while carrying out this process so that there may be no issues.
- Time Machine Backup: Although not compulsory, making a backup before the cloning process is important. It is an extra security measure that will enable you to get back the original system in case anything goes wrong with the cloning process.
- Disk Utility Access: You need this inbuilt macOS program to clone your drive. Ensure you can easily access the Disk Utility by going to Applications > Utilities > Disk Utility. With knowledge of how to operate it, you will experience an easier time during the cloning.
When you have these things in place, the procedure will be easy and smooth, free from stress or distractions that may arise when one is about to finish up with everything else. If you prepare properly, your information will stay complete, and changing drives will be simple.
Step-by-Step Guide to Cloning Your Mac Hard Drive
Connect Your External Hard Drive: Plug in your external drive to your Mac. Ensure it’s properly formatted. If not, use Disk Utility to format it to Mac OS Extended (Journaled).
- Open Disk Utility: Navigate to Applications > Utilities > Disk Utility.
- Select the Source Drive: In Disk Utility, choose your Mac’s internal hard drive from the sidebar.
- Choose the Destination Drive: Select your external hard drive as the destination.
- Start the Cloning Process: Click on the “Restore” tab in Disk Utility. Drag your internal drive to the “Source” field and your external drive to the “Destination” field. Click “Restore” to begin the cloning process.
Depending on the size of your data, this might take some time, so be patient and ensure your Mac stays powered on during the process.
Post-Cloning: Verifying and Booting from the Cloned Drive
After cloning, it’s essential to verify that everything is copied correctly and the new drive is bootable. Here’s how:
- Verify the Data: Open your external drive and check a few files to ensure they are copied correctly.
- Boot from the External Drive: Restart your Mac and hold down the Option key. Select your external drive from the startup menu. This step ensures that the cloned drive is fully functional and can boot your system.
Troubleshooting Common Issues
While cloning a hard drive is generally straightforward, you might encounter a few hiccups:
- Insufficient Space: Ensure your external drive has enough space. If not, clear unnecessary files or use a larger drive.
- Formatting Issues: If your external drive isn’t recognized, reformat it using Disk Utility.
- Slow Performance: Cloning can be slow depending on the data size. Be patient and avoid interrupting the process.
By addressing these common issues, you can ensure a successful cloning process.
Conclusion
Using Disk Utility to create an exact copy of your Mac hard drive is very important for data backup and system upgrades. It guarantees that your information will stay safe and available while moving to another drive or trying to prevent any potential data loss. You have all that it takes to clone your Mac’s hard drive efficiently by following this guide. Therefore, take action today; back up your data and rest assured that it is secure and protected.